Pumpkin Pie Bars
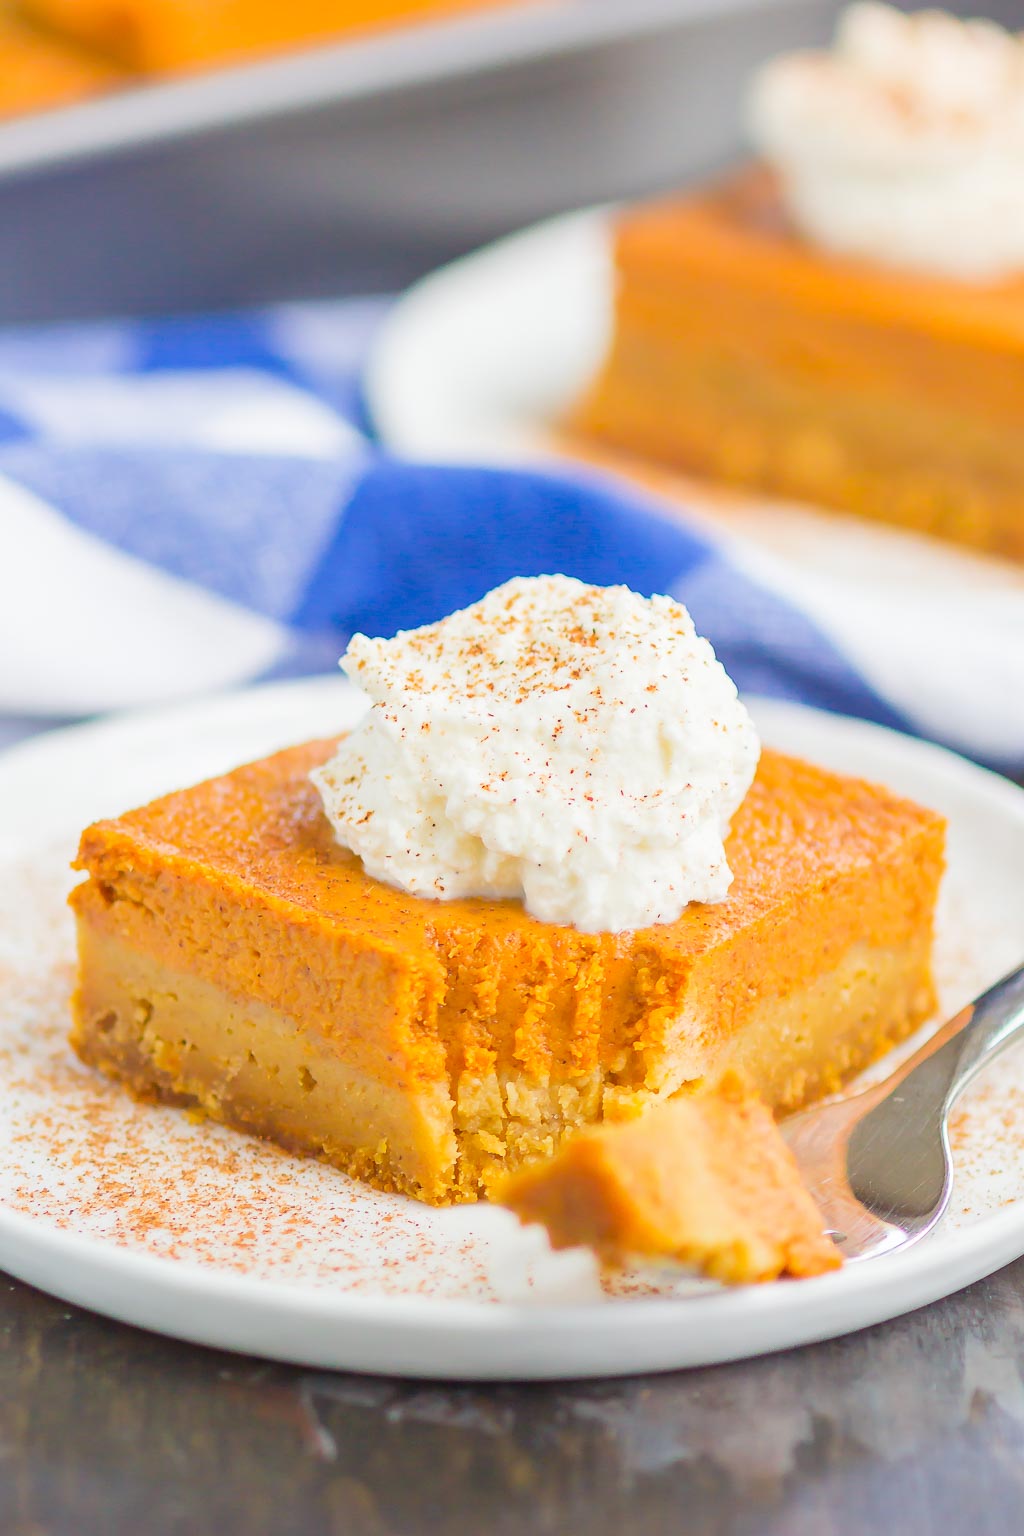
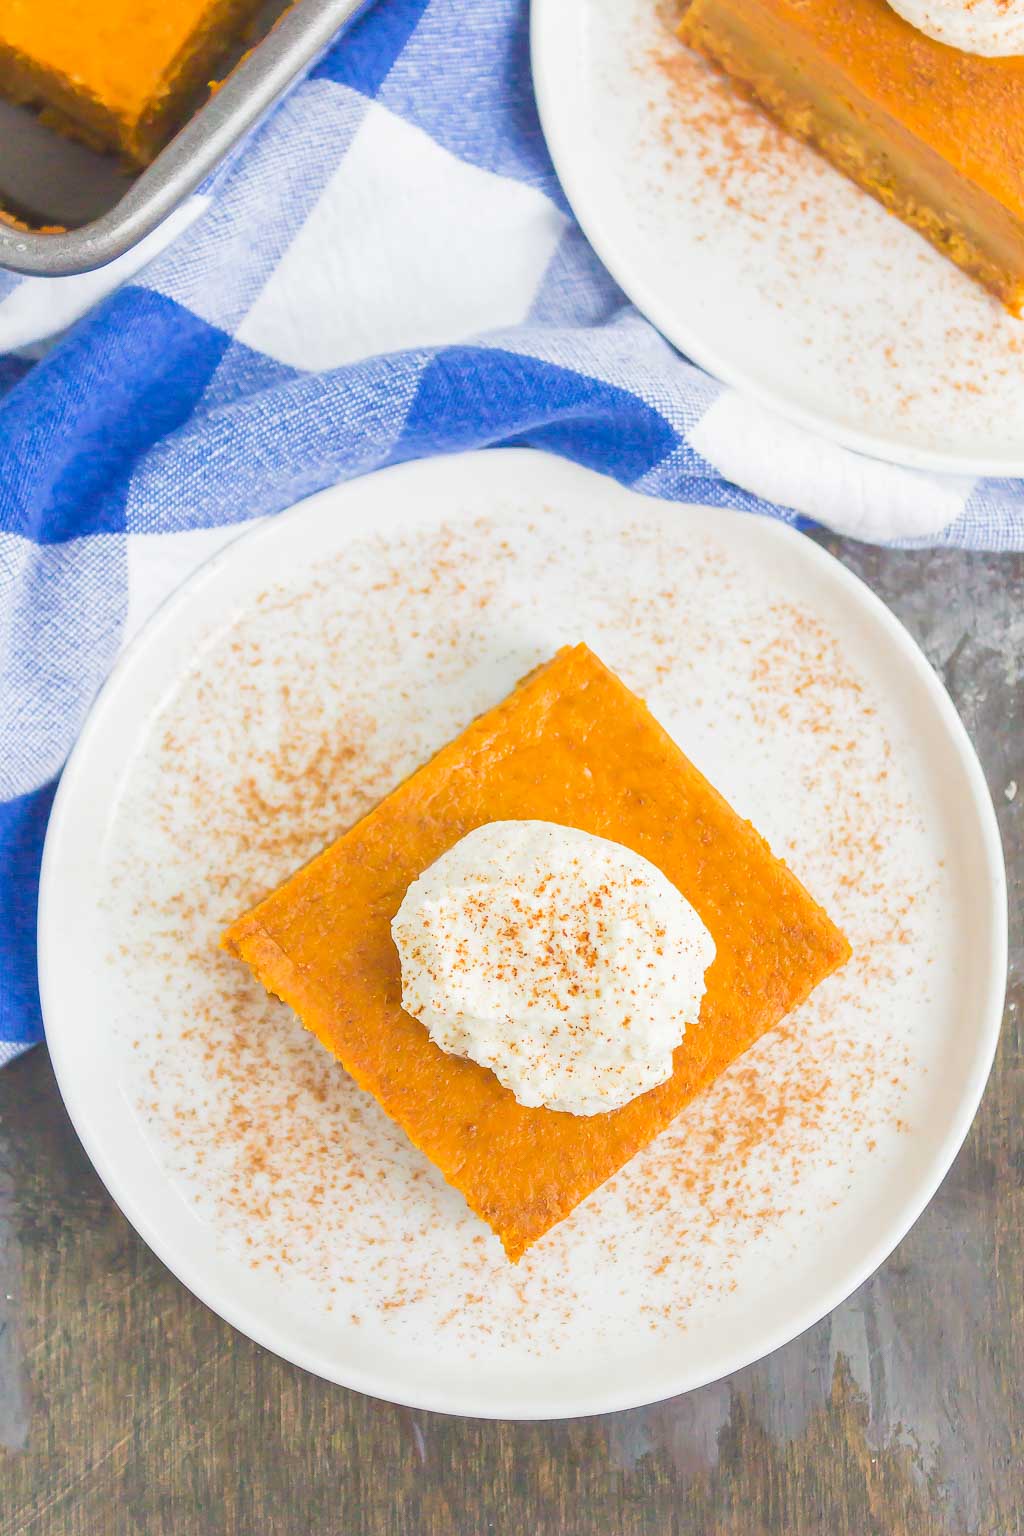
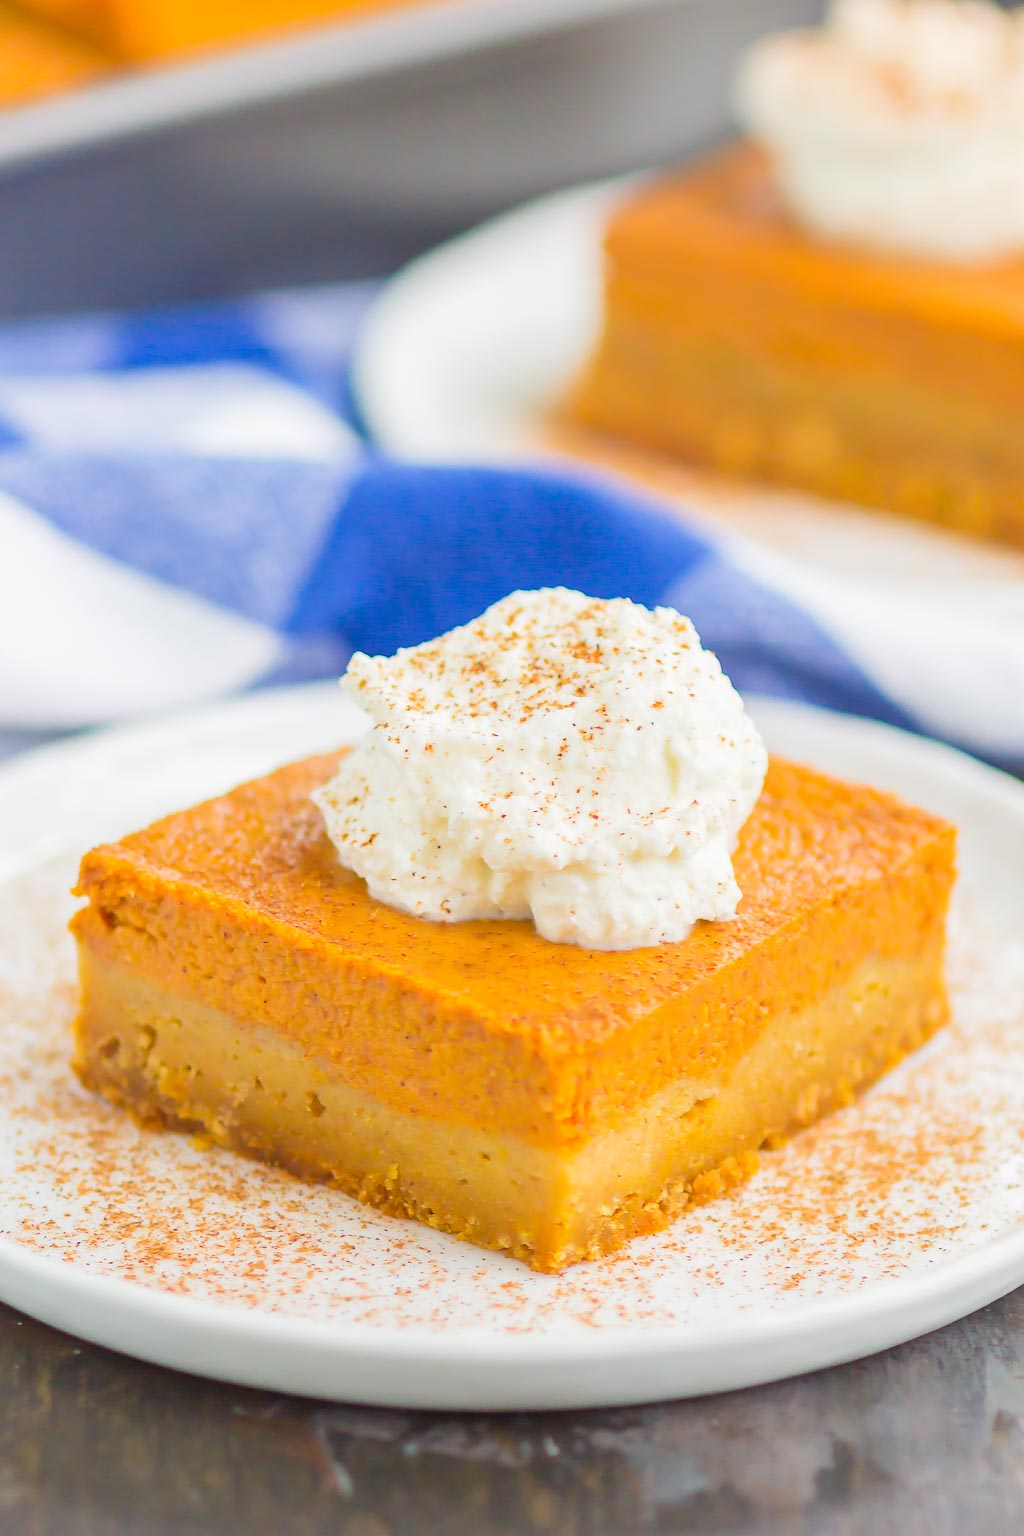
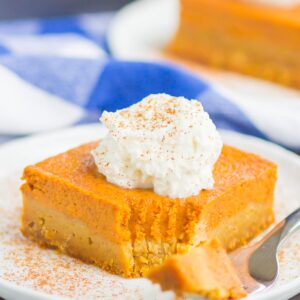
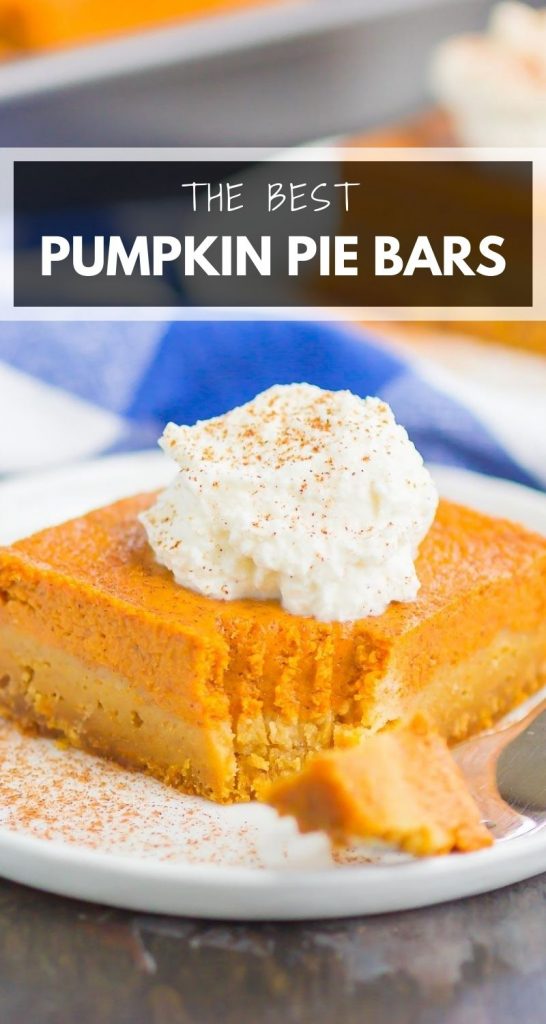
Pumpkin Pie Bars taste just like the classic pie, but without the prep work. An easy graham cracker crust and a smooth and creamy filling makes this dessert perfect for fall!
I love this time year. Cooler weather, apples and pumpkin galore, leaves changing colors, pumpkin spice lattes, and lots of fall desserts.
Easy pumpkin desserts are my jam, and I know you love them, too. Remember this pumpkin cobbler and pumpkin spice cake from last fall? They’re a favorite around here for so many reasons!
And these easy pumpkin pie bars are my latest pumpkin creation. If you love pumpkin pie, but hate going through the preparation of making the crust and all that goes into a pie, then this pumpkin pie bars recipe was made for you.
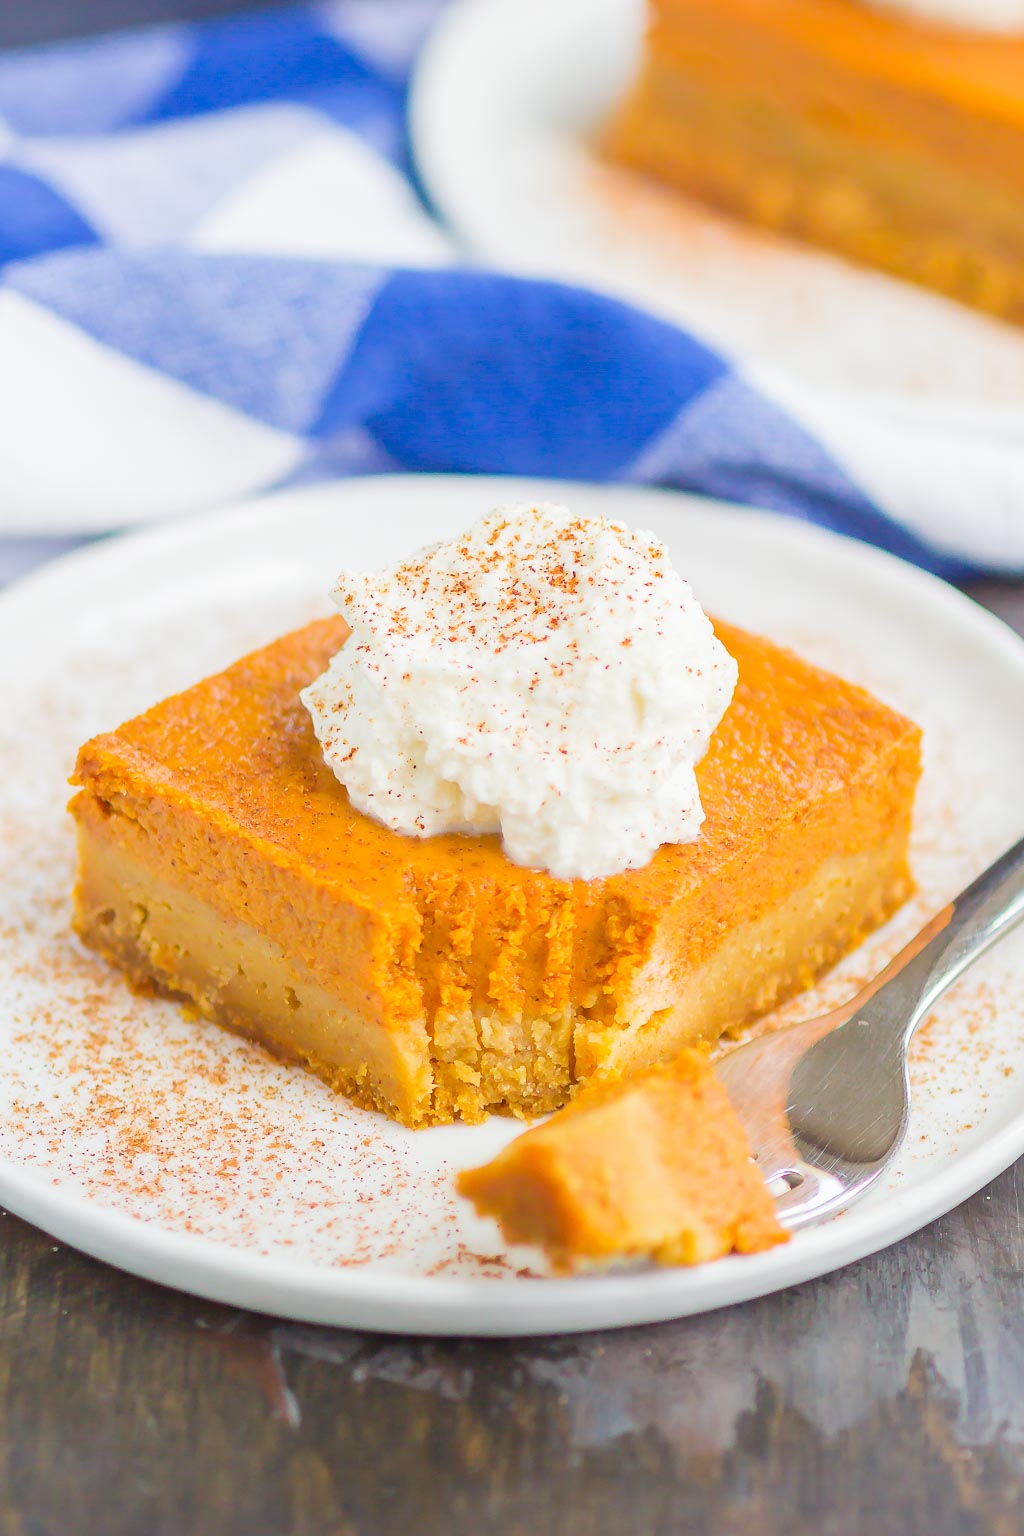
The pumpkin pie filling is smooth, creamy, and filled with cozy fall flavors. One bite and you may never go back to regular pumpkin pie again!
Ingredients in Pumpkin Pie Bars
I love how short and simple the ingredients list for these pumpkin pie squares is. To make the bars, you’ll need the following:
- Graham crackers
- Brown sugar
- Salt
- Unsalted butter
- Canned pure pumpkin
- Evaporated milk
- Eggs
- Granulated sugar
- Spiced (ground cinnamon, ginger, cloves)
How to Make Pumpkin Pie Bars
These pumpkin pie bars with a graham cracker crust couldn’t get any easier. There’s no cutting cold butter into the crust and hoping it turns out. Crushed graham cracker crumbs, a touch of sugar, and butter make this the easiest (and most delicious) base for these bars.
Here’s an overview of how the easy pumpkin pie bars are made:
- Preheat oven to 350°F and lightly grease a 9×13 baking dish.
- To make the crust, in a medium bowl, combine graham cracker crumbs, brown sugar, salt, and melted butter. Press firmly into the bottom of the baking dish and bake for 10 minutes. Let cool slightly while you prepare the pumpkin pie filling.
- To make the filling, in a large bowl, combine pumpkin, evaporated milk, eggs, sugars, and spices and beat until smooth and creamy.
- Pour evenly over crust and bake for about one hour, or until a toothpick inserted into the center of bars comes out clean. Let cool to room temperature and then refrigerate until ready to serve.
How Long Do These Bars Last?
Let the pumpkin dessert bars cool to room temperature and then wrap the pan with aluminum foil and keep refrigerated. Bars will last for up to five days when chilled.
Can These Bars Be Made in Advance?
Yes! In fact, I actually recommend making the pumpkin pie bars a day before you plan on serving them. That way, they have plenty of time to set up in the fridge.
Can You Freeze These Bars?
You sure can! Simply wrap cooled bars tightly with foil or plastic wrap. You can also cut bars and put into a freezer-safe container for convenience. Bars can be frozen for up to three months.
What Can I Use in Place of Evaporated Milk?
While I recommend using evaporated milk for the best taste, heavy cream can be used in its place. Evaporated milk is thick and creamy, much like heavy cream, but with less calories and fat.
You could also use half and half, but since it’s not as thick, the texture will be slightly thinner.
Tips for Making Pumpkin Pie Squares
- If you don’t feel like crushing the graham crackers for the crust, you can buy prepackaged crushed graham crackers.
- To make sure the bars are done baking, you want the jiggle slightly in the center only. Also use the toothpick test to be sure the filling isn’t undercooked.
- It’s best to chill the bars for at least two hours before serving so that they’ll firm up.
Looking for Thanksgiving Recipe Ideas? I’ve got you covered!
- Pumpkin Apple Muffins
- Pumpkin Pie Pudding
- Pumpkin Bread Pudding
- Easy Pumpkin Cinnamon Rolls
- Pumpkin Blueberry Muffins
- Pumpkin Scones
Pumpkin Pie Bars
Ingredients
Crust
- 2 cups graham cracker crumbs, (about 15-6 graham crackers)
- 2 tablespoons packed light brown sugar
- Pinch of salt
- ½ cup unsalted butter, melted
Filling
- 2 cans (15 ounce) pure pumpkin
- 2 cans (12 ounce) evaporated milk
- 4 eggs
- 1 cup packed light brown sugar
- ½ cup granulated sugar
- 2 teaspoon ground cinnamon
- 1 teaspoon ground ginger
- ½ teaspoon cloves
- ½ teaspoon salt
- Whipped cream for topping, if desired
Equipment
Instructions
- Preheat oven to 350°F. Lightly grease a 9x13 baking dish with cooking spray. Set aside.
- To make the crust, in a medium bowl, combine graham cracker crumbs, brown sugar, salt, and melted butter. Press firmly into the bottom of the baking dish and bake for 10 minutes. Let cool slightly.
- To make the filling, in a large bowl, combine pumpkin, evaporated milk, eggs, brown sugar, granulated sugar, cinnamon, ginger, cloves, and salt. Beat until smooth and creamy with an electric hand mixer or stand mixer with fitted paddle attachment.
- Pour evenly over crust and bake for about 50-60 minutes, or until a toothpick inserted into the center of bars comes out clean. The center should be slightly jiggly.
- Let cool to room temperature and then refrigerate until ready to serve. Cut into bars and top with whipped cream, if desired.
Notes
- Pumpkin Pie Bars will keep refrigerated for up to five days.
- See my tips and tricks for making these Pumpkin Pie Bars above the recipe box.




The graham cracker crust ended up burning before the pie filling had set. It didn’t ruin the entire dessert as the crust could be separated from the filling, but it did leave a lingering burning taste. Additionally, the pie filling had to bake far longer than the recipe called for. Overall, the pie filling is good but the recipe is a dud.
Sorry to hear that, Amanda!
This came out great for me. I saw the note about someone else’s crust burning so as a precaution I st the oven to 325 and made sure the bars were on a higher oven shelf.
I’m so happy to hear that, Camille! Thanks for sharing!
I really enjoyed this recipe! It was easy to follow and very delicious!! Not remotely a dud. My pie crust did not burn at all. The homemade whipped cream on top really pulls it all together. The filling has great flavor!!!! If you want pumpkin pie bars with graham cracker crust – this is it!
I’m so glad you enjoyed, Leigh! I agree, the homemade whipped cream just makes the dessert extra special!
Can I use roasted pie pumpkin instead of canned?
Hi Shassy! As long as it’s pure pumpkin and nothing added to it (like sugar, etc.), it should work if you use the same amount as the canned kind. I’ve never done this before, so that’s just a guess. Hope you enjoy!